
How to Import Clothing from China: Specs, QC and Labels
By Hasan Olwan, in Yiwu since 2009 · Last updated: November 5, 2026
The short answer: to import clothing from China, decide what you’re selling and to whom, write a spec with measurements and tolerances, approve a sample, inspect production before you pay the balance, and check the label and safety rules in your country before anything is printed. The garment photo and the unit price are the last things to judge a supplier on.
Clothing goes wrong in ways a photo can’t show. The price looks right, then the sizes don’t fit your customers, or the fabric isn’t the same as the sample, or the labels fail in your market. Each of these can be prevented, but only before production starts.
This guide takes those decisions in order. It’s general information rather than legal or customs advice, so confirm requirements for your own product with your customs broker or the agency named below.
Step 1: Define what you're buying
Start with a one-page buying brief before you contact anyone:
- Target customer, and how the garment will be used
- Garment type and quality level
- Target selling price and sales channel
- Styles, colors and sizes you plan to sell
- Quantity, budget and the date you need the goods
- Destination country and delivery address
Keep the first range narrow enough to manage. Then ask each supplier how their minimum applies: to the whole order, or to each style, color or size. That answer changes how much range your budget can carry.
Step 2: Choose stock, modified or custom
“I want clothes with my brand” isn’t a clear request. Ask for one of these three, because each is a different job.
| Route | What you ask for | What you need to settle |
|---|---|---|
| Ready-made stock | Existing styles with no real changes | Available quantity, sizes, fabric, and if you can reorder the same item |
| Modified product | An existing style with your logo, label or packaging | Scope of changes, new sample, cost and minimum |
| Custom design | Your own design made to your spec | Fabric, cut, size grading, sample rounds and approval steps |
None of these is automatically cheaper or better for a first order. If you’re testing a market, choose the route you can pay for and check properly. If your brand depends on a particular cut or fabric, a stock item with your logo won’t deliver it. Our private label sourcing page covers the branded route.
Step 3: Find and check suppliers
You can build a list from online platforms, wholesale markets, trade fairs or a sourcing agent. Treat each as a starting point. A listing, a booth or a city name doesn’t prove a supplier can make your garment.
Send every candidate the same brief, because different photos and specs give you quotes you can’t compare. Then ask each one in writing:
- Which company will issue the invoice, and where will the goods be made?
- What experience do they have with your garment type, with samples you can check?
- Can an inspector visit the production site?
- How do samples get made and approved?
- What’s included in the price, and what’s charged separately?
- How do they handle goods that don’t match the spec?
Don’t assume a factory beats a trading company, or the reverse. Compare the terms and the evidence. See how to verify a Chinese supplier for the checks to run before you pay.
Step 4: Write the spec
The spec connects your quote, your sample, production and the inspection. Replace phrases like “premium fabric” with something an inspector can check: fiber composition, color reference, cut, logo position and method, trims and finishing.
Size names don’t define a garment. QIMA’s garment inspection guide says your spec should state the points of measurement, the standard measurement for each size, and the acceptable tolerance for each point. Build a table like this:
| Item | What goes in the spec |
|---|---|
| Size code | The code used for each size |
| Points of measurement | Chest width, garment length, sleeve length, as relevant |
| Method | How the garment lies, and where each measurement starts and ends |
| Target value | The measurement for each point and each size |
| Tolerance | The allowed variation at each point |
| Order breakdown | Quantity by style, color and size |
QIMA also makes a point most buyers miss: correct measurements don’t guarantee a correct fit, because a body isn’t a flat table. Check how the garment looks when worn or on a suitable mannequin, as a separate step.
Step 5: Approve a sample properly
Get a sample that represents what you plan to buy, and record what you checked. “Looks good, go ahead” isn’t an approval you can rely on later.
Check the measurements and fit, stitching, symmetry, color, and the position of any print or embroidery. Test zippers, buttons and elastic instead of just looking at them.
Keep a clear record of the approved sample: a reference number, photos, the date, and the changes you asked for. If a fabric or detail changes after approval, the supplier should ask you first.
A home wash can show you a problem early, but it doesn’t prove anything. If you plan to claim a garment won’t shrink or the color won’t run, ask a testing lab which method and limits fit your product and market.
Step 6: Put it in writing before you pay
Your documents should link together: the final quote, a purchase order, the spec and the approved sample. Record the following:
- Quantity by style, color and size
- Price, currency, and what’s included or excluded
- Production dates and approval points
- Inspection arrangements and acceptance criteria
- How defects get fixed and re-checked
- Payment and delivery terms
Name the shipping term and place, not just “price includes shipping”. Our guide to supplier contracts covers the mistakes to fix before you send money.
Step 7: Inspect the production, not just the sample
The sample shows what you approved. An inspection checks what was actually made. These are the checks QIMA describes for garments, turned into a list you can send to an inspector:
| Check | What’s reviewed |
|---|---|
| Style and color | Against the spec and approved sample |
| Measurements | Against the size table and tolerances, for each size in the order |
| Fit | On a mannequin of the right size, against your reference photos |
| Workmanship | Stitching, logos, artwork, and stripes matching at the seams |
| Accessories | Pull, fatigue and stretch tests on zippers, snaps and elastic |
| Needle detection | Metal detector check for broken needle fragments |
| Labels and barcodes | Label content, plus a scan of the barcodes |
| Packing | Count and assortment per carton, protection, shipping marks |
Agree in advance how samples are selected and how defects are classified. An inspection samples the order, so it doesn’t check every piece or guarantee zero defects. Our quality inspection is $200 per man-day, and our inspection checklist can help you prepare.
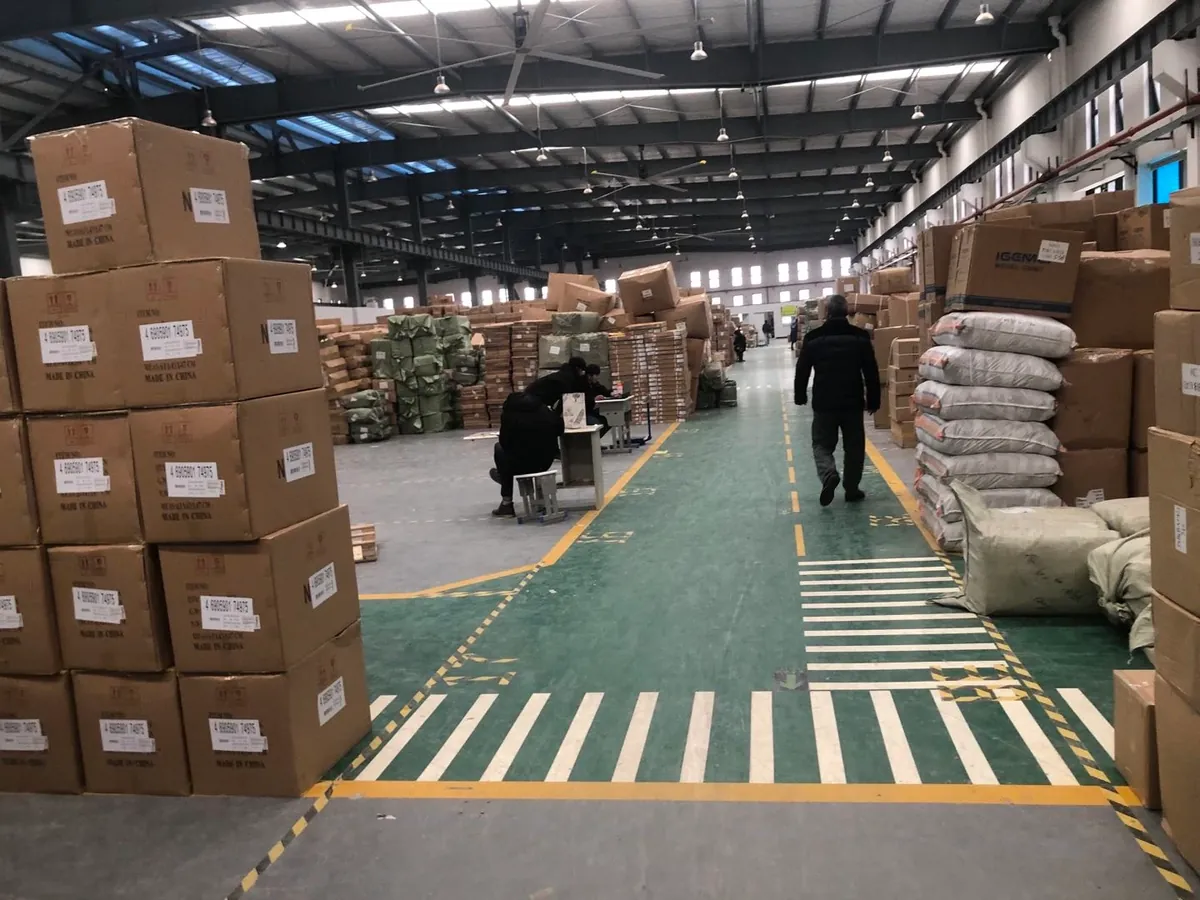
Step 8: Check the rules in your market
Have this done before labels are printed, because a wrong label means rework or a problem at the border. These summaries point you to the right agency. Your broker or the agency should confirm the details.
United States
- Labels: the FTC says most textile and wool products need a label with fiber content, country of origin, and the manufacturer or another responsible business. Under the Care Labeling Rule, importers must make sure care labels are on garments before they’re sold in the US.
- Flammability: CPSC’s standard for general wearing apparel, 16 CFR part 1610, applies to most clothing, and children’s sleepwear has its own rules. Importers must certify covered products, using a Children’s Product Certificate for children’s items.
- Forced labor: under the Uyghur Forced Labor Prevention Act, goods made wholly or partly in Xinjiang are presumed barred from entry. That covers goods made only partly there, so ask where the fiber and fabric come from and keep the records.
- Customs entry: CBP’s guidance says commercial textile shipments can need a formal entry regardless of value. Ask your broker before you book a small shipment.
Canada
The Competition Bureau lists fiber content and the dealer’s name and place of business, or a CA identification number. Ask your broker to confirm the language rules, including English and French, and country-of-origin marking.
United Kingdom
Trading Standards guidance, reviewed in July 2026, says textile products must carry a fiber content label, and that the manufacturer or UK importer is responsible. Only certain fiber names can be used.
Australia
The ACCC’s mandatory standard requires clothing to carry adequate care instructions, and suppliers must meet it. Ask your broker about origin labeling on imported goods.
Children’s clothing can carry extra rules in any market, so check it separately.
Step 9: Work out your cost and ship
Don’t judge the order by the unit price. Add samples, labels, inspection, testing, freight, duty, clearance and delivery, then divide by the pieces you can sell. Our landed cost guide gives you a template. Duty on clothing depends on the tariff code, and fiber content can change the code, so have your broker classify the exact garment.
Choose the shipping method once you know the weight, volume and date you need the goods. Small and mixed clothing orders often go by shared sea freight, air or express. We ship DDP to the US, Canada, the UK, Australia, Mexico and Brazil, with duties and clearance in one price.
Common mistakes
- Ordering a wide range before you know how sizes and colors will sell
- Accepting a quote that doesn’t state fabric, packing or delivery
- Using size names instead of a measurement table
- Approving a sample without recording what you checked
- Letting the fabric or details change without written approval
- Booking an inspection without a clear checklist
- Printing labels before checking your market’s rules
- Setting a launch date with no room for rework or delay
Frequently asked questions
How much does it cost to import clothing from China?
There’s no single figure. It depends on the garment, quantity, how much you customize, and your destination. Get written quotes against your spec, then work out the landed cost.
How do I know the sizes will fit my customers?
Use a measurement table with tolerances, then check the fit on a sample. Matching measurements don’t guarantee a good fit, so judge both.
Is a good sample enough?
No. A sample shows what you approved. You still need to check production against it, because approving a product and inspecting a batch are two separate steps.
Can I put my own brand on the clothes?
Usually, yes. Ask the supplier to confirm in writing what can be customized, then approve the logo, labels and packaging. Make sure you have the right to use any design you ask them to produce.
Do I need lab tests for clothing?
It depends on the garment, the claims you make, and your market. Shrinkage and colorfastness have their own test methods, and looking at a garment won’t prove them. In the US, check the flammability rules too.
Summary
- Decide the route: stock, modified or custom.
- Write a spec with measurement points and tolerances.
- Record your sample approval, and control any changes.
- Inspect production before you pay the balance.
- Check label and safety rules before you print anything.
- Judge the order by landed cost, not the unit price.
Planning a clothing order? Send us the garment type, rough quantity, destination and target date, and we’ll tell you how we can help.